서론
이전 포스팅을 통해 VirtualBox에서 쿠버네티스 클러스터를 구축하는 방법을 살펴봤습니다. 이번 포스팅에서는 클러스터내 Pod 끼리 디스크를 공유해야하는 경우 사용되는 Persistent Volume 유형 중 NFS를 구성하는 방법에 대해서 살펴보겠습니다.
쿠버네티스 Persistent Volume 지원 항목
- GCEPersistentDisk
- AWSElasticBlockStore
- AzureFile
- AzureDisk
- CSI
- FC (파이버 채널)
- FlexVolume
- Flocker
- NFS
- iSCSI
- RBD (Ceph Block Device)
- CephFS
- Cinder (OpenStack 블록 스토리지)
- Glusterfs
- VsphereVolume
- Quobyte Volumes
- HostPath (단일 노드 테스트 전용 – 로컬 스토리지는 어떤 방식으로도 지원되지 않으며 다중-노드 클러스터에서 작동하지 않음)
- Portworx Volumes
- ScaleIO Volumes
- StorageOS
1. NFS 서버 설치
NFS 구축을 위해서는 서버를 먼저 설치해야합니다. 보통 별도 서버를 띄운다음에 구축하는 것이 보편적이지만 편의상 Work1 노드에 NFS 서버를 구축하겠습니다.
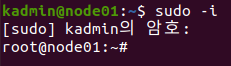
1. Work1 노드에서 root 계정으로 접속합니다.
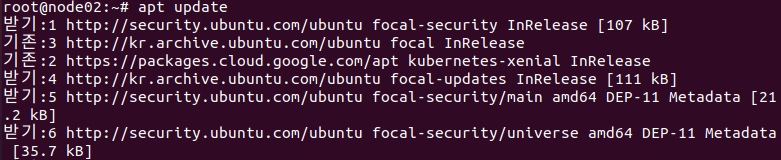
2. update를 수행합니다.

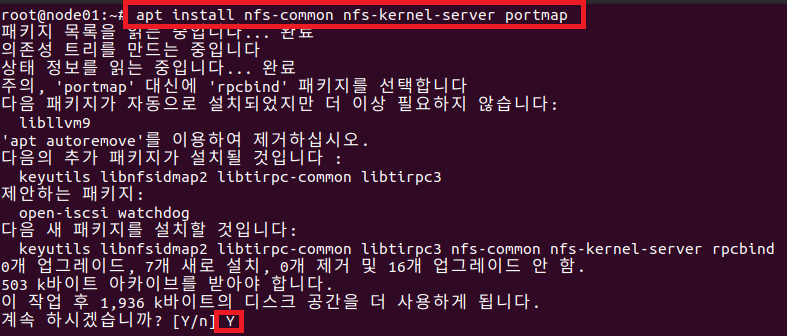
3. NFS 서버를 위한 패키지 프로그램을 설치합니다.
4. 공유 폴더를 새로 만듭니다. (mkdir /home/share/nfs -p)

5. 폴더 권한을 부여합니다. (chmod 777 /home/share/nfs)

6. exports 파일을 엽니다. (vi /etc/exports)

7. 공유폴더의 허용 host 및 권한을 설정합니다.
( /home/share/nfs 192.168.72.101(rw,sync,no_subtree_check) 192.168.72.102(rw,sync,no_subtree_check) 192.168.72.103(rw,sync,no_subtree_check) )

8. nfs-server를 재기동합니다.(service nfs-server restart)

9. nfs-server 상태를 확인합니다.(systemctl status nfs-server.service)

10. mount 목록을 확인하여 정상 반영되었는지 체크합니다. (showmount -e 127.0.0.1)

11. 공유 폴더를 /mnt로 마운트 시킵니다. (mount -t nfs 192.168.72.102:/home/share/nfs /mnt)

12. 정상적으로 마운트되었는지 확인하기 위해 공유 폴더에 테스트 파일을 만듭니다.
(echo test >> /home/share/nfs/test.txt)

13. 마운트 위치에있는 파일을 읽어 정상 동작 여부를 확인합니다. (cat /mnt/test.txt)

14. 임시 파일을 삭제합니다. (rm /mnt/test.txt)

15. Master 노드의 root 계정으로 접속합니다.

16. update를 수행합니다. (apt update)

17. NFS 관련 패키지 프로그램을 설치합니다.(apt install nfs-common nfs-kernel-server portmap)

18. Work2 노드에서 root 계정으로 접속합니다.

19. update를 수행합니다.
20. NFS 관련 패키지 프로그램을 설치합니다.(apt install nfs-common nfs-kernel-server portmap)

2. Persistent Volume 테스트
쿠버네티스 공식 홈페이지에 있는 예제를 활용하여 NFS를 활용한 공유디스크 설정 테스트를 진행합니다.
1. PersistentVolume 테스트를 위한 yaml 파일을 생성합니다.

2. 아래 내용을 복사 & 붙여넣기 합니다.
apiVersion: v1
kind: PersistentVolume
metadata:
  name: my-pv
spec:
  capacity:
    storage: 10Mi
  volumeMode: Filesystem
  accessModes:
    - ReadWriteOnce
  persistentVolumeReclaimPolicy: Recycle
  nfs:
    path: /home/share/nfs
    server: 192.168.72.102
3. PersistentVolume을 생성합니다. (kubectl create -f pv.yaml)

4. PersistentVolume 상태를 확인합니다.

위와같이 Status가 Available이면 정상입니다.
5. 초기화를 위해 PersistentVolume을 삭제합니다. (kubectl delete -f pv.yaml)

마치며
Stateful 애플리케이션을 사용하기 위해서는 Volume 설정이 필요합니다. NFS는 Persistent Volume을 지원하는 한 종류로서 공유 디스크 할당이 가능합니다.
다음 포스팅에서는 LoadBalancer를 위한 MetalLB 설치과정을 다루겠습니다.
'Cloud > Kubernetes' 카테고리의 다른 글
| 5. 쿠버네티스 클러스터 구축 - MetalLB 설치 (2) | 2020.07.18 |
|---|---|
| 3. 쿠버네티스 클러스터 구축 - Docker & 쿠버네티스 클러스터 설치 (1) | 2020.07.18 |
| 2. 쿠버네티스 클러스터 구축 - Ubuntu 설치 및 환경 구성 (0) | 2020.07.18 |
| 1. 쿠버네티스 클러스터 구축 - Virtual Box 환경 설정 (0) | 2020.07.18 |